Getting started with Particle Web IDE
The Particle Web IDE (Build) is the fastest way to begin writing and flashing firmware to your Particle devices. All you need is a web browser and a Particle account.
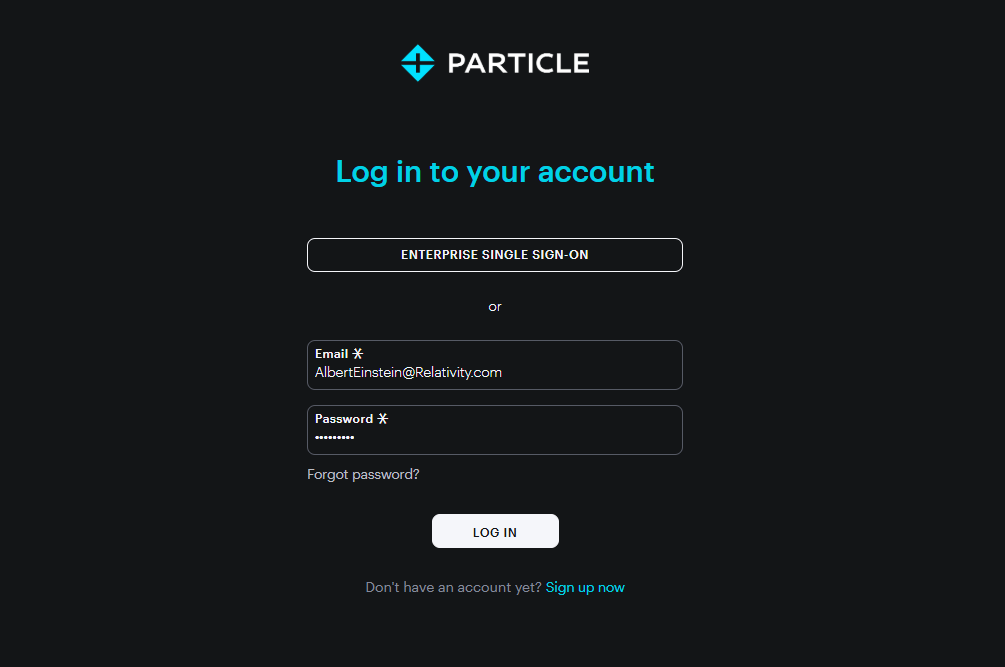
1. Sign In
Go to build.particle.io and log in with your Particle account.
If you don’t have an account yet, you can create one here.
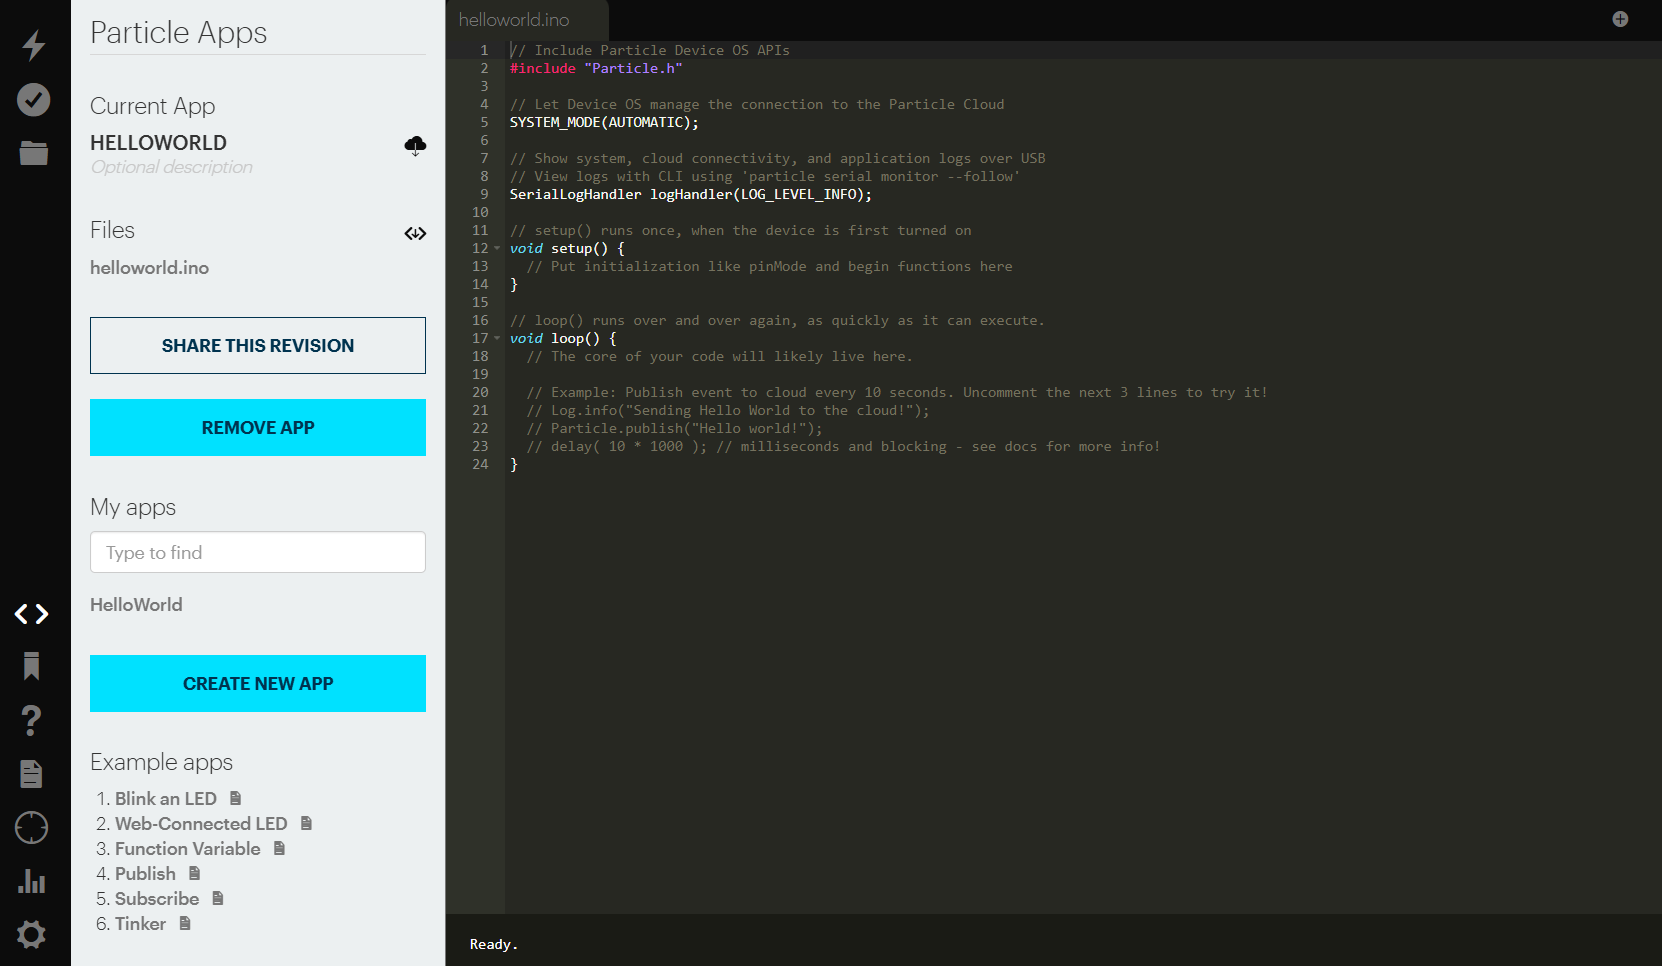
2. Create a New Project
- Click the Create New App button in the left sidebar.
- Enter a project name.
- The editor will open with a blank
.inofile where you can write your firmware.
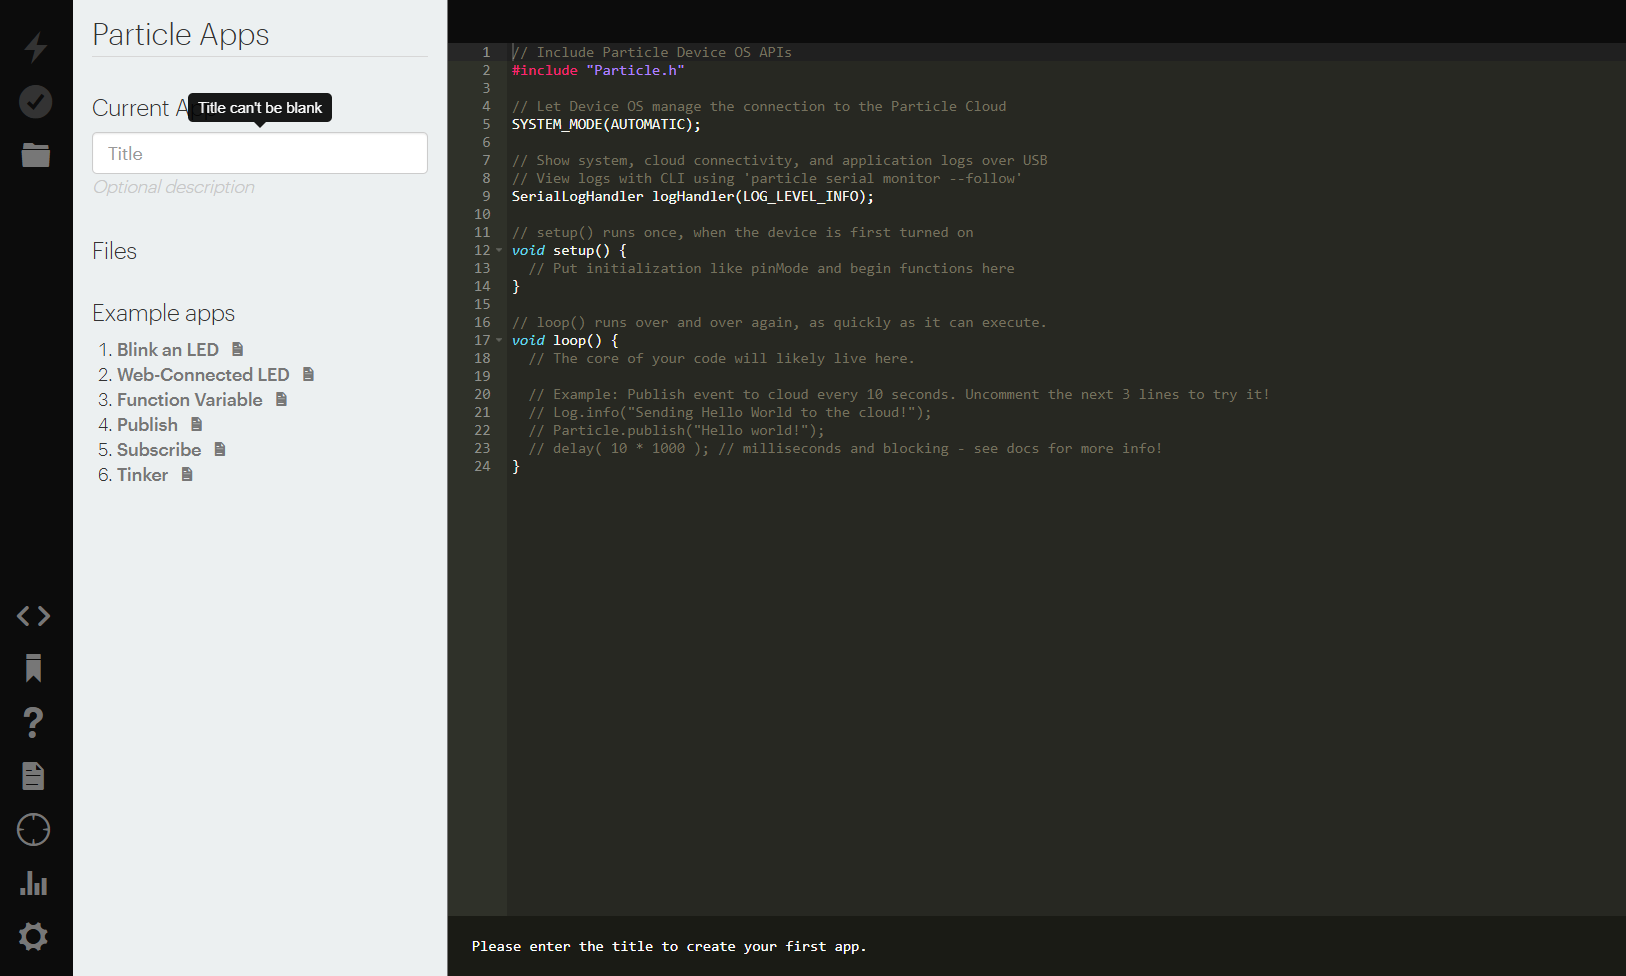
Here we have named our app HelloWorld.ino
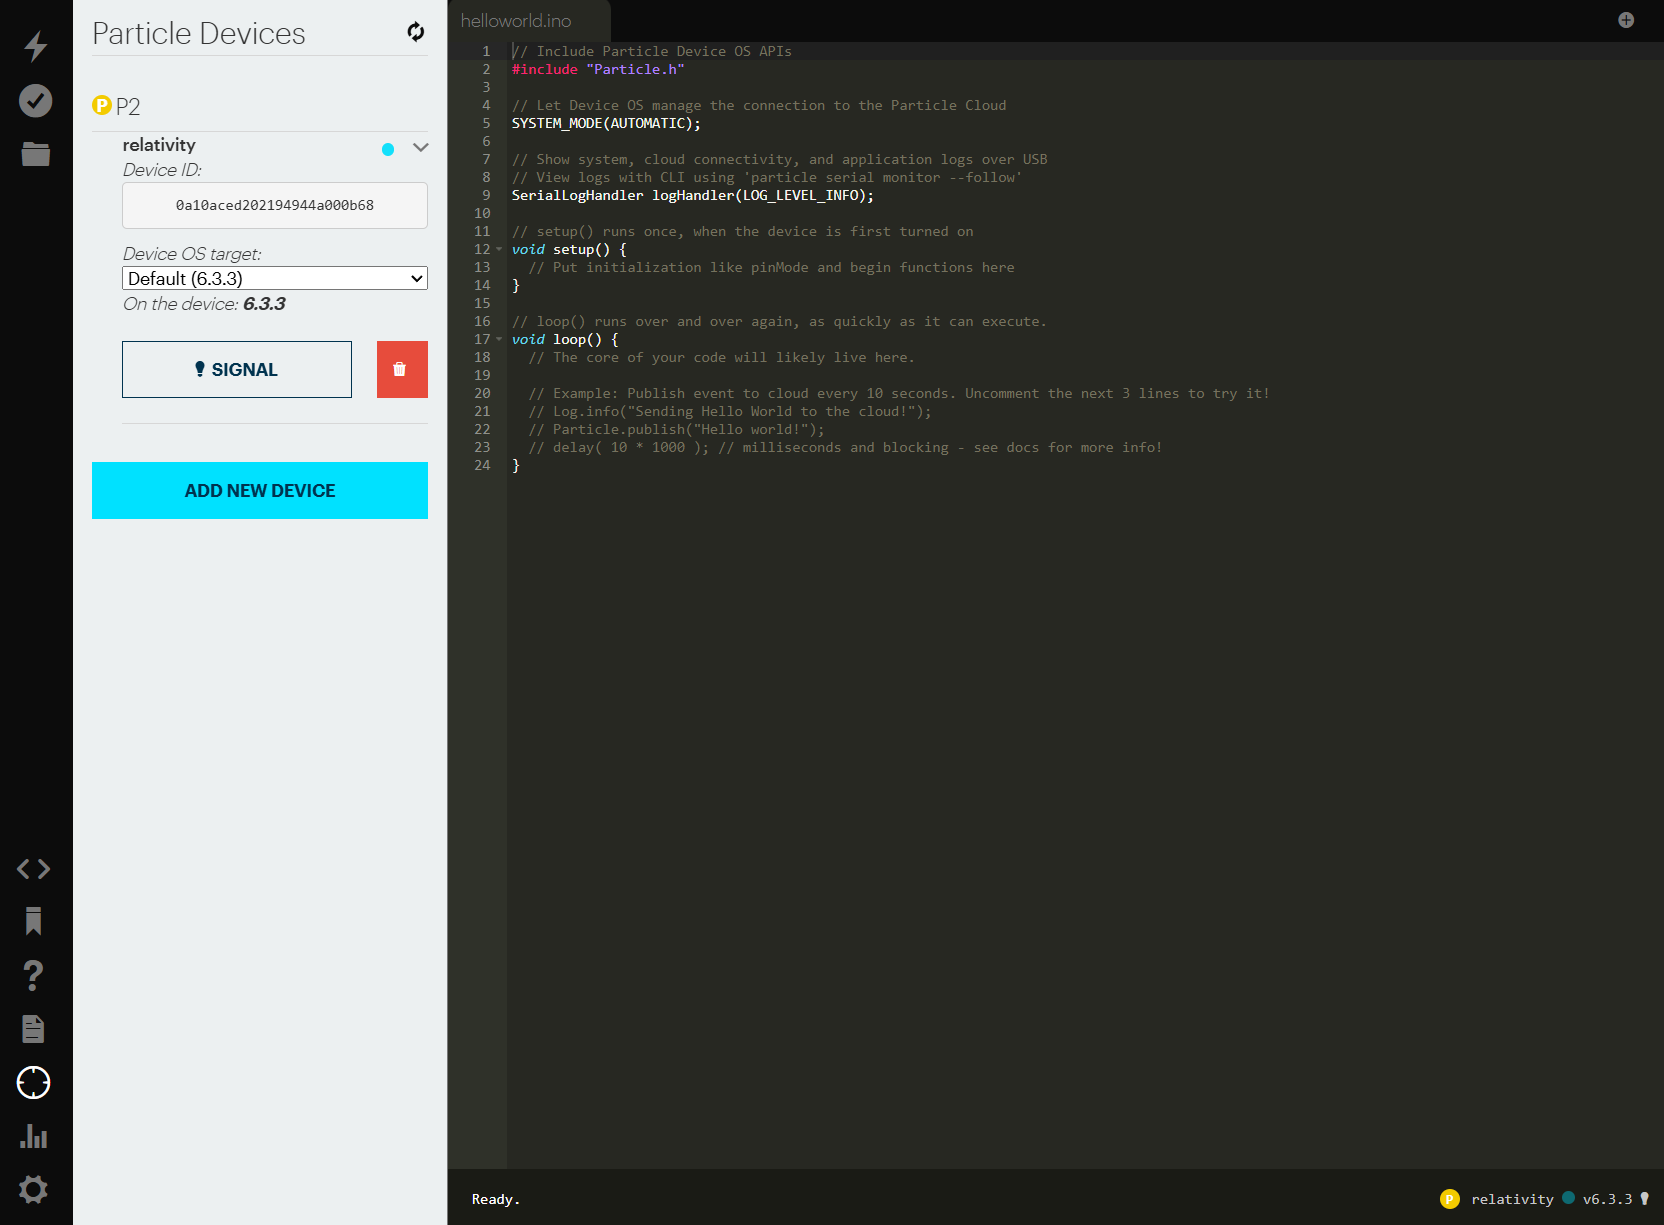
3. Select a Target Device
- Open the Devices tab in the sidebar (target icon).
- Choose the Particle device you want to flash or add a new one.
- If you have multiple devices in your account, a gold star will indicate the currently selected target device.
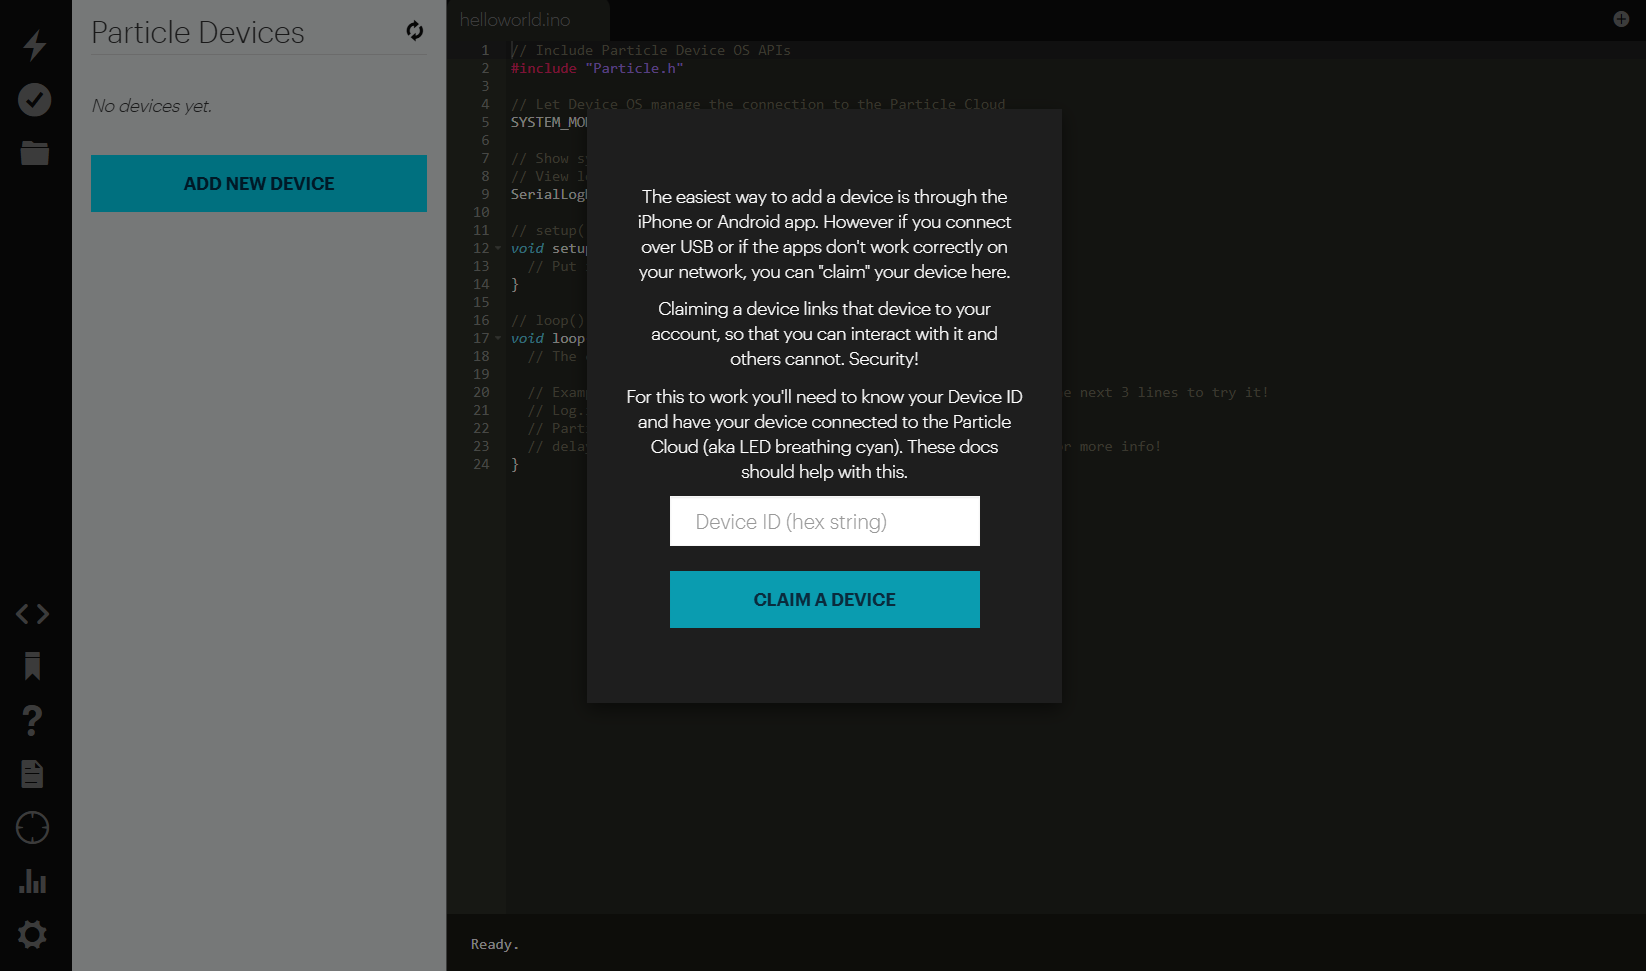
Make sure that the device is online and ready to get an OTA.
4. Add Libraries (Optional)
- Open the Libraries tab in the sidebar (book icon).
- Search for official or community libraries.
- Click Include in Project to add a library to your firmware.
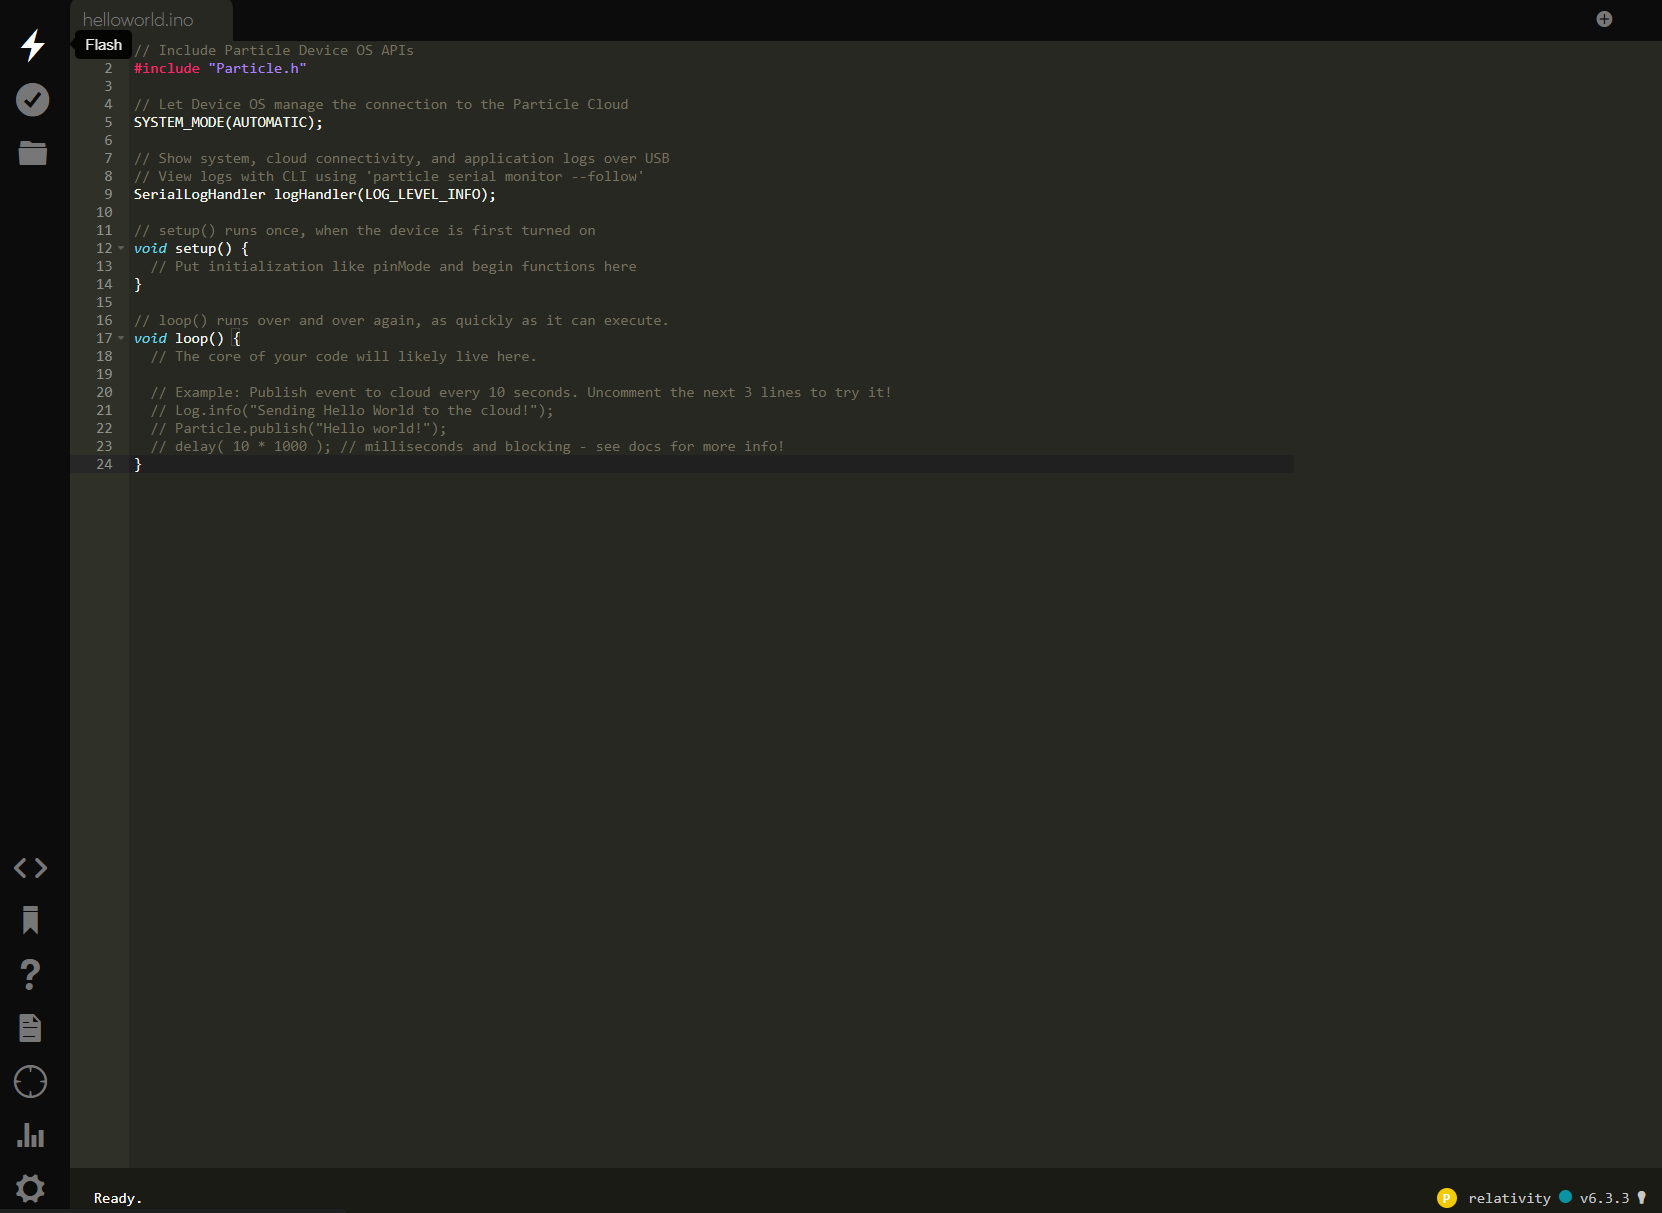
5. Compile and Flash
- To compile your project, click the checkmark icon.
- To flash your firmware OTA, click the lightning bolt icon.
- The build happens in the Particle Cloud, and the binary is automatically sent to your selected device.
6. Monitor and Debug
- Use the Events tab to view published events from your device.
- Use the Particle CLI or Workbench if you need serial monitoring or advanced debugging.
Next Steps
This guide covers the basics of using the Web IDE. For a deeper walkthrough—including advanced features, device management, and library usage—see the Web IDE Guide.