Adafruit Crickit HAT
The Adafruit Crickit HAT is a compact, affordable expansion board from Adafruit, designed to bring all-in-one robotics prototyping to Raspberry Pi and compatable boards like Tachyon.
Overview
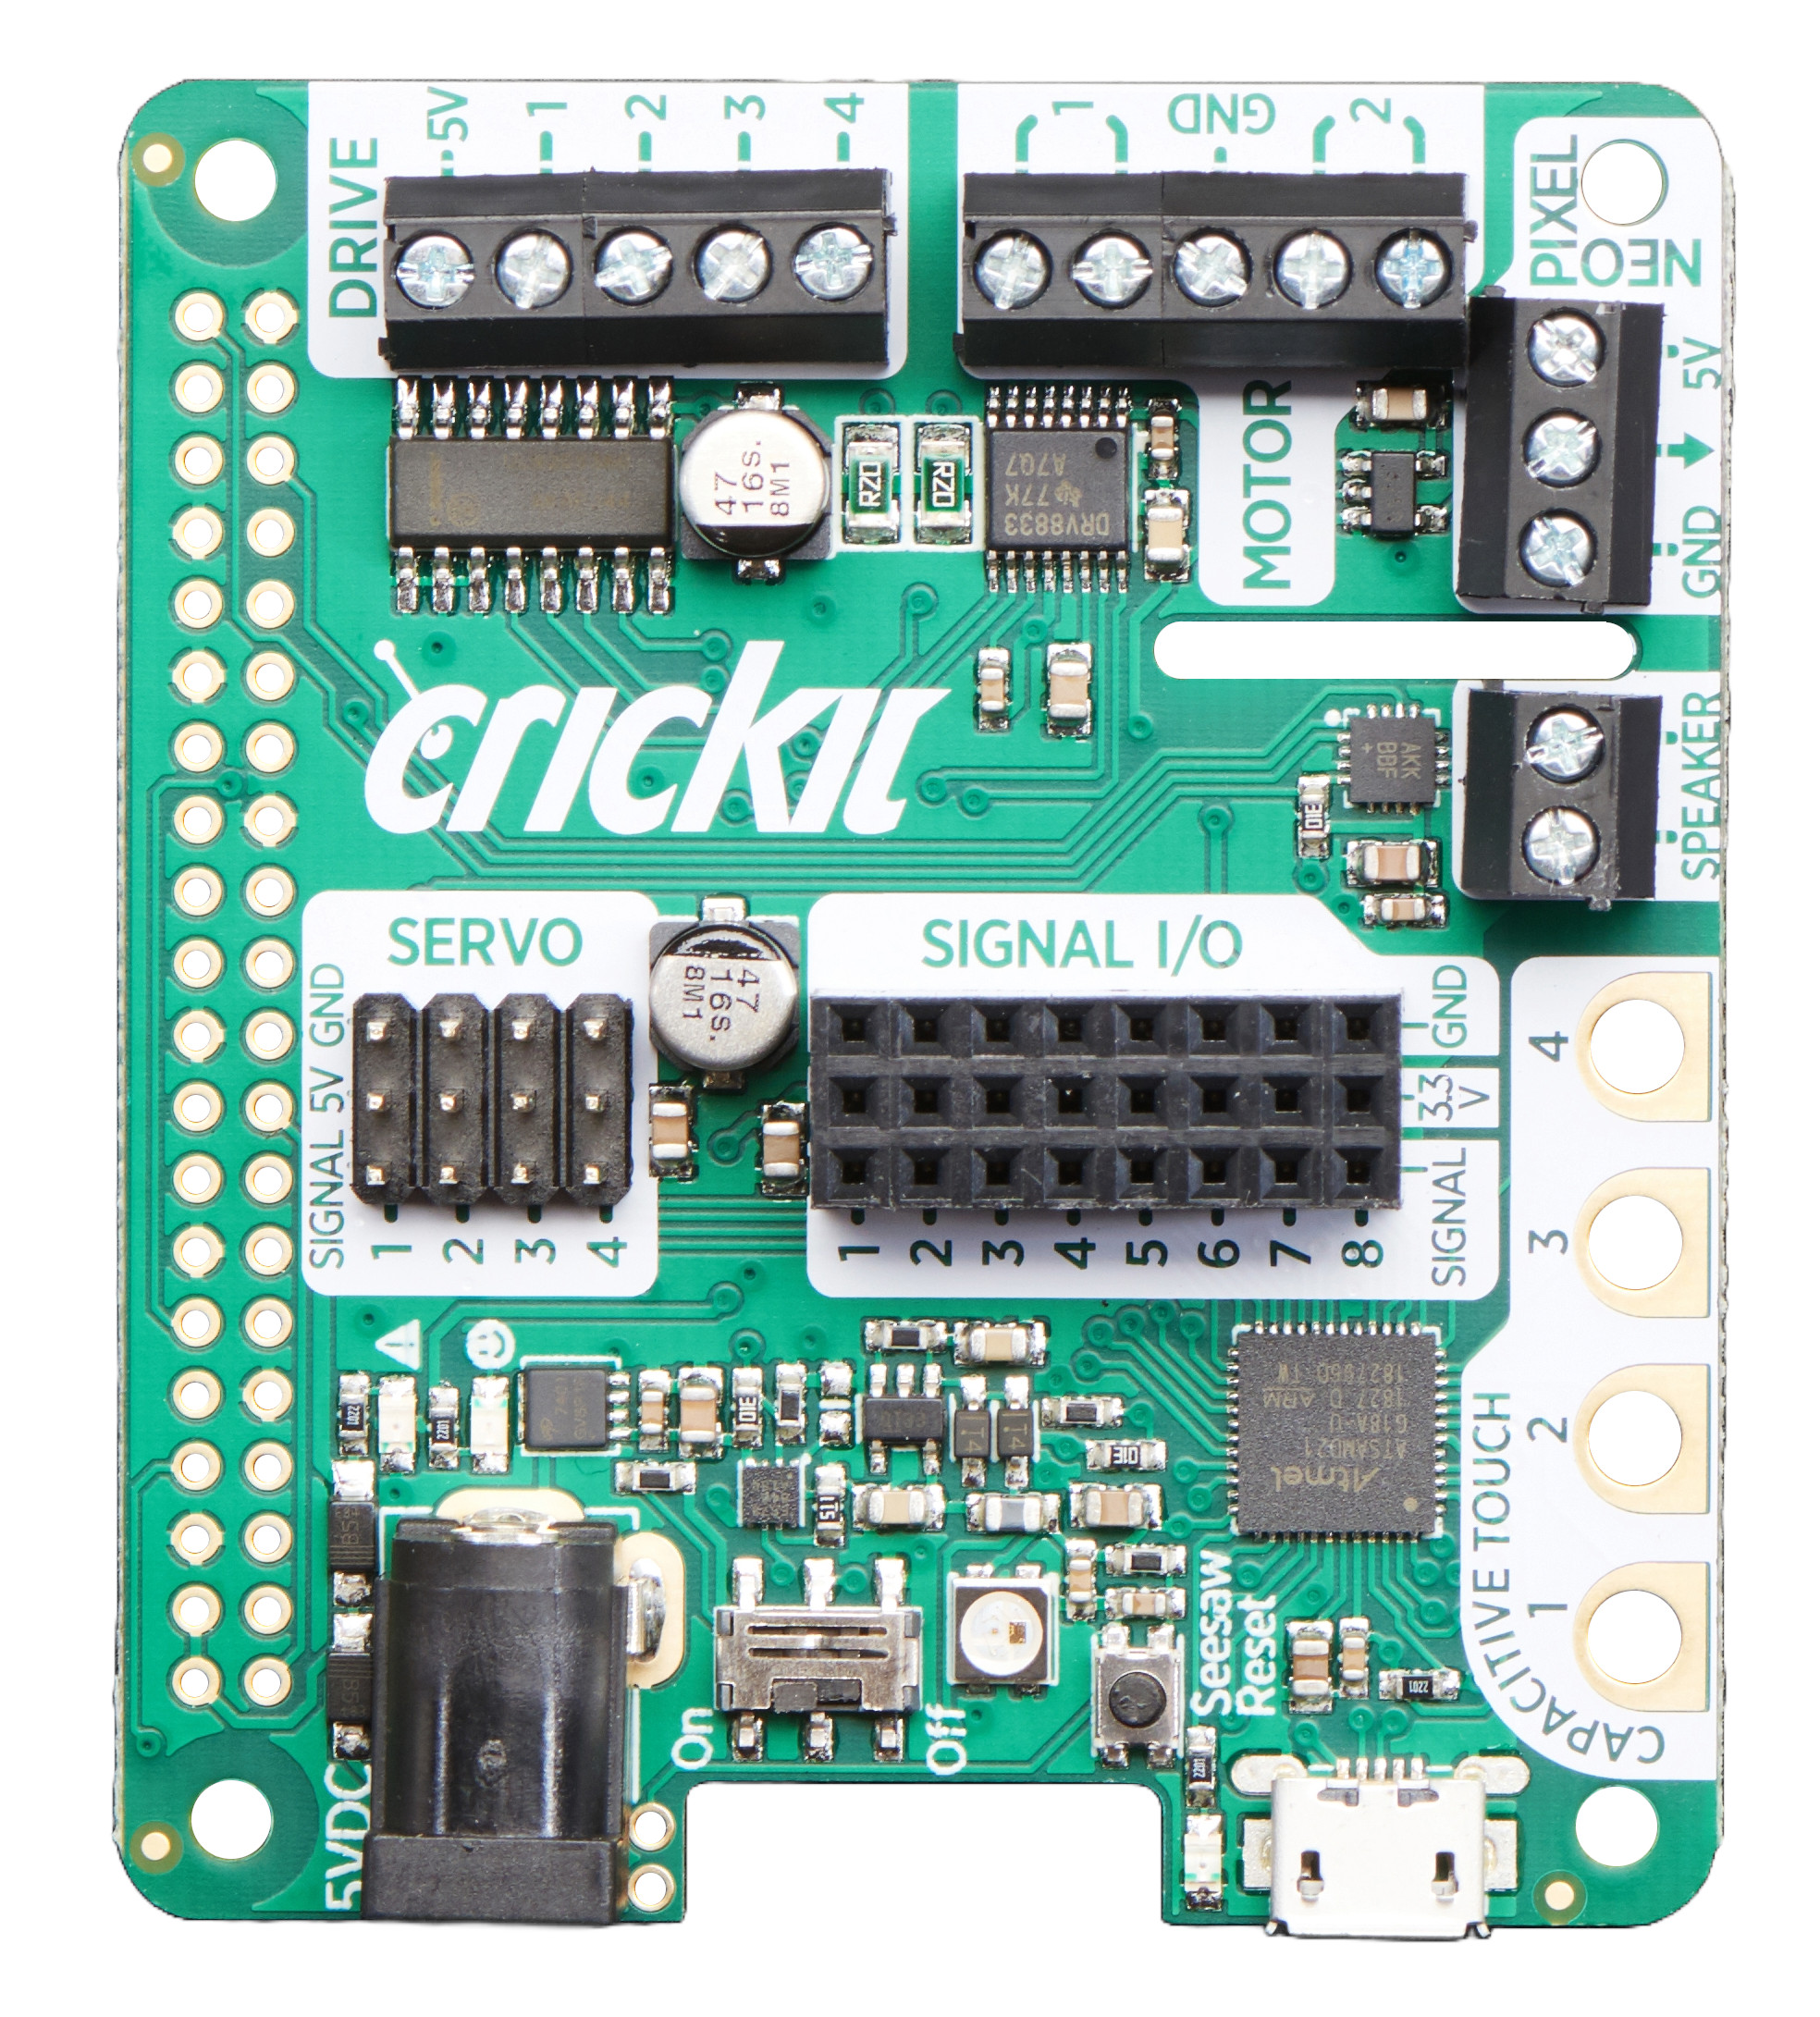
The Adafruit Crickit HAT turns your Tachyon into a full-featured robotics playground, giving you control over motors, servos, solenoids, analog/PWM signals, capacitive touch sensors, NeoPixels, and audio output—all through the standard 2×20 GPIO header. Powered by seesaw I²C bridge firmware and programmable in Python 3, it offloads timing and sensor management to a co-processor so you can quickly build interactive robot companions without sacrificing your Tachyon’s existing video, camera, Internet, or Bluetooth capabilities.
Key Features
- 4x Servo control → Analog or Digital, with precision 16-bit timers
- 2x Motor control → Bi-directional brushed DC, 1 Amp current limited each, with 8-bit PWM speed control (or one stepper)
- 4x High current outputs → "Darlington" 500mA drive outputs with kick-back diode protection. For solenoids, relays, large LEDs, or one uni-polar stepper
- 4x Capacitive touch → input sensors with easy-to-clip alligator-pads
- 8x Analog/Digital GPIO → Digital in/out or analog inputs
- 1x NeoPixel driver → with 5V level shifter, capable of driving over 100 pixels
- Audio Output → Class D, 4-8 ohm speaker, 3W-max audio amplifier
- 1x Built-in USB Serial → The USB port on the HAT can be used to update the seesaw firmware on the Crickit, or you can plug into your computer and it will also act as a USB converter for logging.
What's Included?
- Adafruit Crickit HAT
- Pre-soldered Header (40-pin GPIO)
- Extended Header (40-pin) for extra clearance if desired
Note: Please note you will need a 5V power supply for the Crickit to power motors, servos and neopixels. Adafruit recommends this one.
Installing the HAT
Adafruit has a wonderful guide on how to physically setup your Crickit HAT.
Scanning for i2c devices should show 49 for the Crickit HAT. If you don't see it, make sure you have the 5V power cable plugged in.
i2cdetect -y -r 1
     0  1  2  3  4  5  6  7  8  9  a  b  c  d  e  f
00:          -- -- -- -- -- -- -- -- -- -- -- -- --
10: -- -- -- -- -- -- -- -- -- -- -- -- -- -- -- --
20: -- -- -- -- -- -- -- -- -- -- -- -- -- -- -- --
30: -- -- -- -- -- -- -- -- -- -- -- -- -- -- -- --
40: -- -- -- -- -- -- -- -- -- 49 -- -- -- -- -- --
50: -- -- -- -- -- -- -- -- -- -- -- -- -- -- -- --
60: -- -- -- -- -- -- -- -- -- -- -- -- -- -- -- --
70: -- -- -- -- -- -- -- --
(Coming soon: Specifics to avoid with Tachyon, routing of motor wires, and using other breakout boards that can help)
Installing the Software
First let's check a few things:
python2 --version // 2.7.18
python3 --version // 3.8.10
python --version // not found!
Next, let's update and install some essentials:
sudo apt update
sudo apt install -y python3-pip
sudo apt install --upgrade python3-setuptools
sudo apt install -y python3-venv python3-libgpiod
Let's setup and activate the viritual python environment for Adafruit libraries:
mkdir -p ~/.virtualenvs/adafruit
python3 -m venv ~/.virtualenvs/adafruit --system-site-packages
source ~/.virtualenvs/adafruit/bin/activate
To deactivate, you can run this... but leave it active for now.
(adafruit) deactivate
Let's set the python command to prefer python3 over python2.
(adafruit)  sudo update-alternatives --install /usr/bin/python python $(which python2) 1
(adafruit)  sudo update-alternatives --install /usr/bin/python python $(which python3) 2
(adafruit)  sudo update-alternatives --skip-auto --config python
(adafruit)  python --version // Should now show Python 3.8.10
Upgrade a few python tools
(adafruit) pip install --upgrade pip setuptools wheel build packaging setuptools-scm
Now we want to make a spot for our code to live (customize the name as desired):
(adafruit) mkdir -p code
(adafruit) cd code
Download and install these modified library dependencies for Tachyon
(adafruit) git clone https://github.com/technobly/Adafruit_Blinka.git
(adafruit) git clone https://github.com/technobly/Adafruit_Python_PlatformDetect.git
(adafruit) cd Adafruit_Blinka
(adafruit) pip install .
(adafruit) cd ../Adafruit_Python_PlatformDetect
(adafruit) pip install .
Install the Crickit library
(adafruit) pip3 install adafruit-circuitpython-crickit
Finally, let's test that everything is working. Run Python in your virtual environment and paste in these three lines one at a time. Type exit() to exit.
from adafruit_crickit import crickit

# do not touch the first pad and run (it should be False)
print(crickit.touch_1.value)

# touch the first pad and run it again (now it's True)
print(crickit.touch_1.value)
Running Example Applications
Once again, Adafruit has a great tutorials for all aspects of the Crickit HAT here:
- Servos
- Drives
- DC Motors
- Steppers
- Signals
- Touch
- NeoPixels
- Speaker Output (coming soon on Tachyon)
- All Crickit CircuitPython Example Scripts