Getting started with Workbench
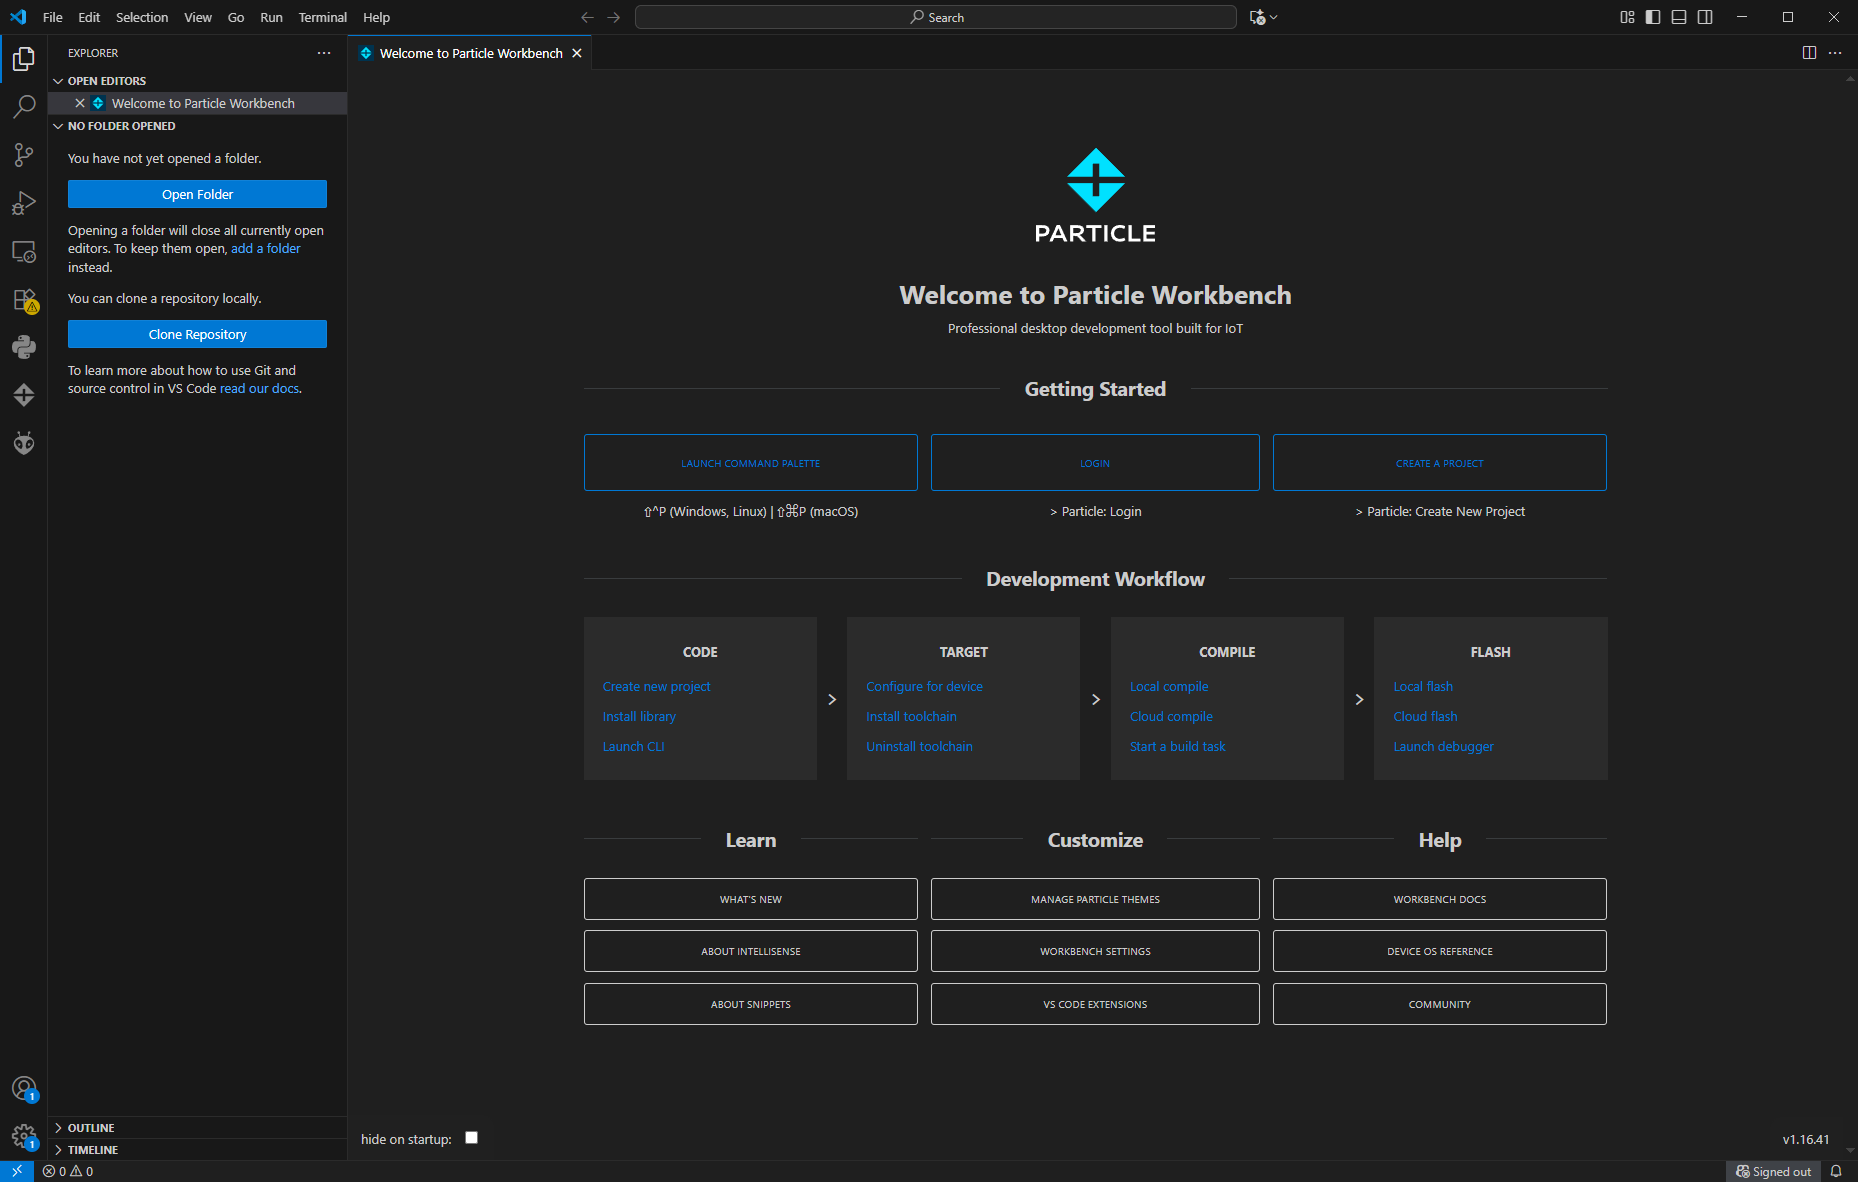
Particle Workbench is a Visual Studio Code extension that provides a complete toolchain for Particle development. Once installed, you can use it to create projects, write firmware, and flash Particle devices.
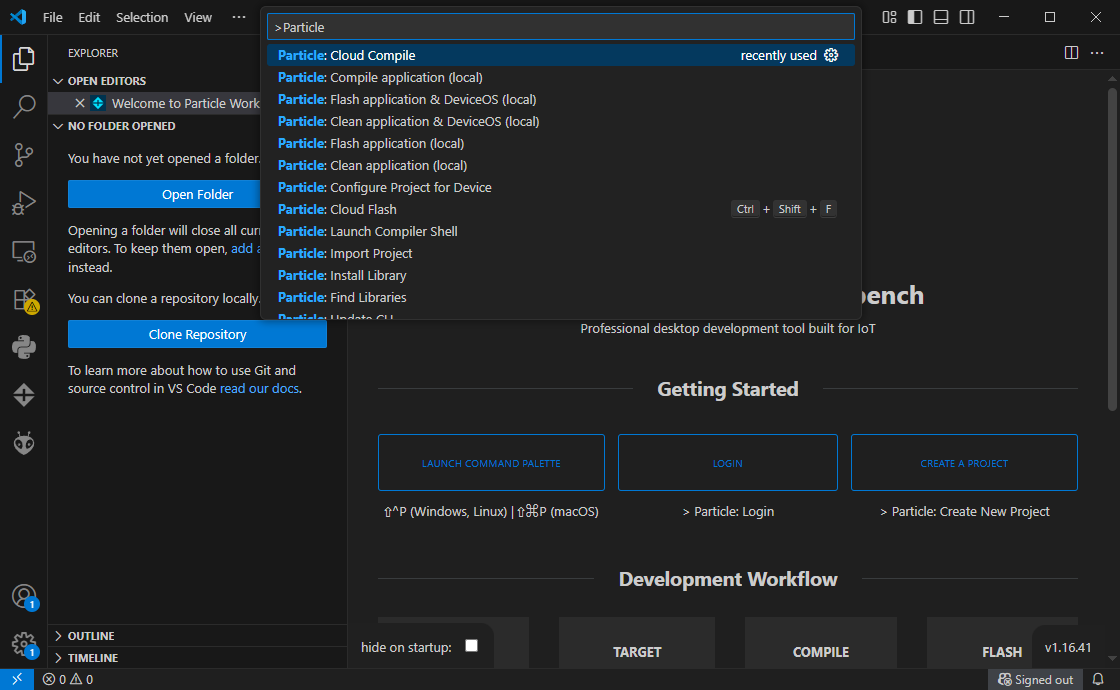
1. Open the Command Palette
In Visual Studio Code, press:
- Windows/Linux:
Ctrl+Shift+P - macOS:
Cmd+Shift+P
Type Particle: to see available Workbench commands.
2. Create a New Project
Select Particle: Create New Project.
- Choose a folder location.
- Pick your device platform (e.g., Boron, Photon 2, Tracker).
- Workbench will scaffold a project with a
src/directory and sample firmware.
3. Configure Your Device
Run Particle: Configure Project for Device.
- Select your device type.
- Assign the connected device to this project.
4. Build and Flash
- To compile your project, run Particle: Compile Application (local) or Particle: Compile Application (cloud).
- To flash firmware to your device:
- USB: Particle: Flash application (local)
- OTA: Particle: Flash application (cloud)
5. Monitor Logs
Run Particle: Serial Monitor to view device logs over USB.
You can also use the Particle: Cloud Monitor for events published to the Particle Cloud.
Next Steps
This quick guide gets you started with the basics. For a complete walkthrough—including advanced features, debugging, and project configuration—see the in-depth Particle Workbench Guide.