M1 Enclosure Mounting Options
The M1 enclosure is designed for real-world deployments—industrial sites, farms, maker benches, smart cities, you name it.
Because every install location is different, we built the enclosure around a modular mounting plate that lets you:
- Bolt it to a wall, fence post, or wooden panel
- Strap it to a pole or pipe
- Snap it onto ferrous metal with built-in magnets
Choose the method that matches your project and environmental needs—then swap or upgrade later without drilling new holes into the enclosure itself.
Accessing the Mounting Plate
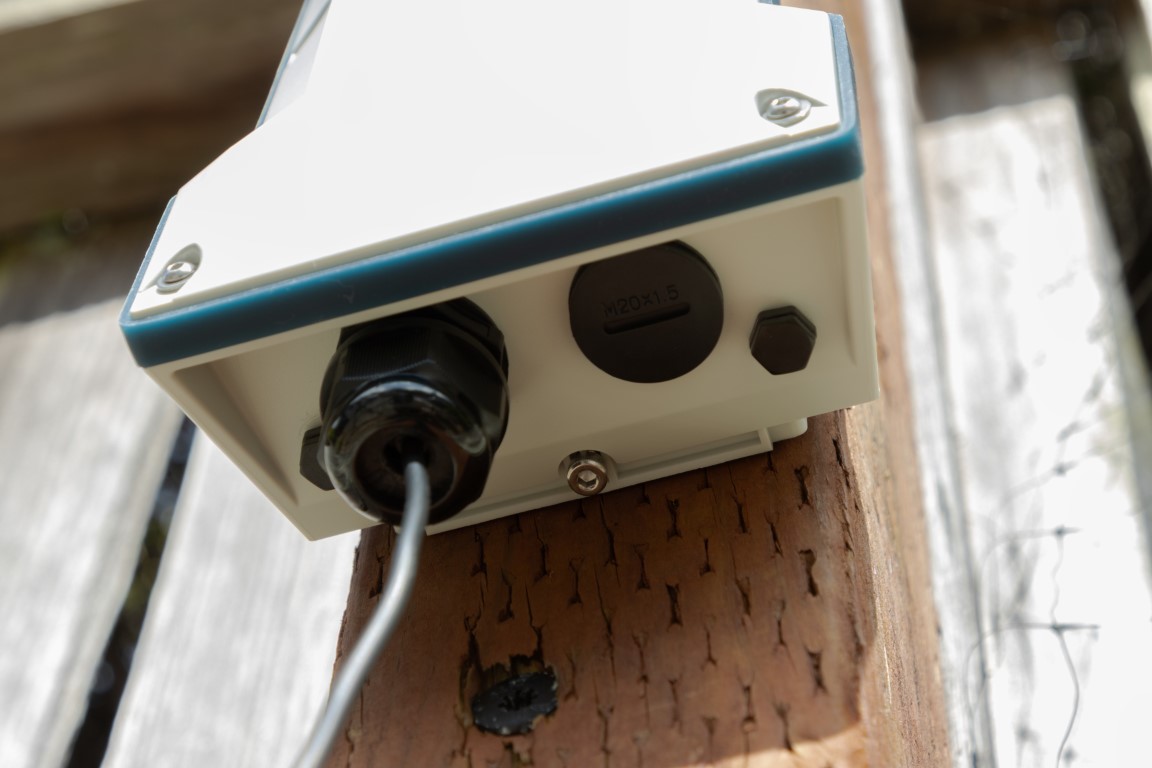
The M1 enclosure ships with a removable mounting plate on its back, secured by a single M4 bolt.
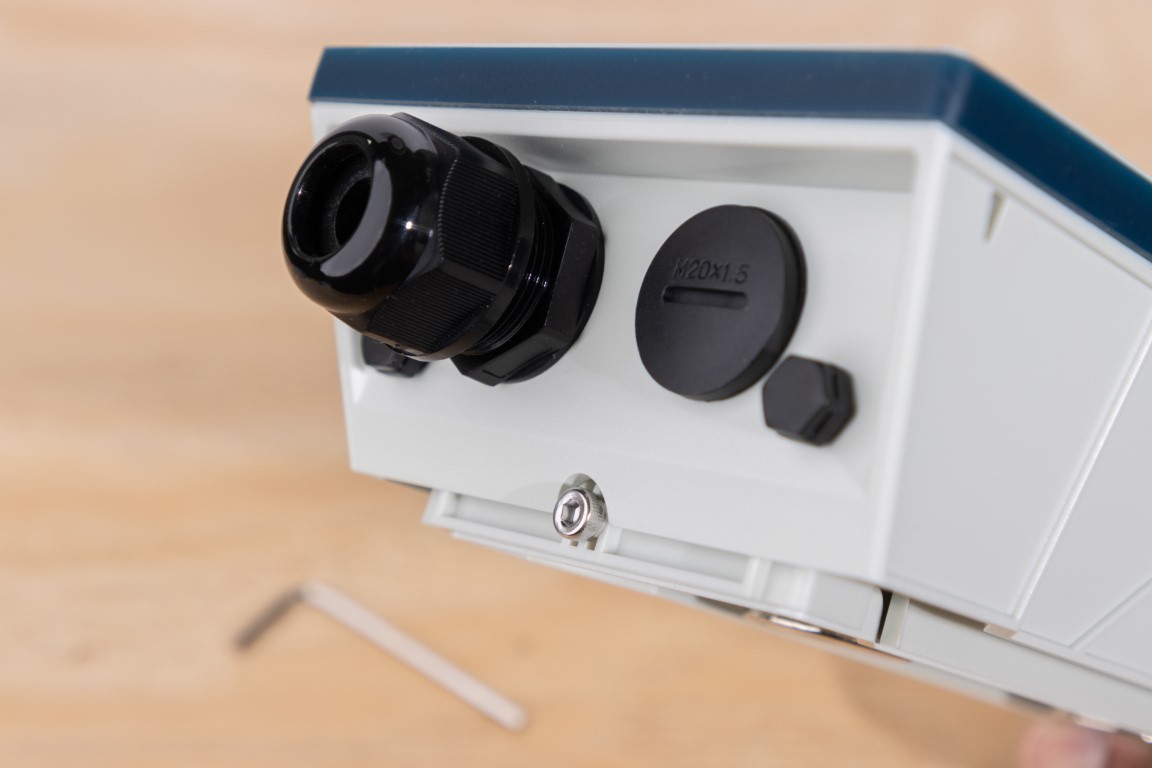
Use the larger Allen key included in your kit to remove the M4 bolt.
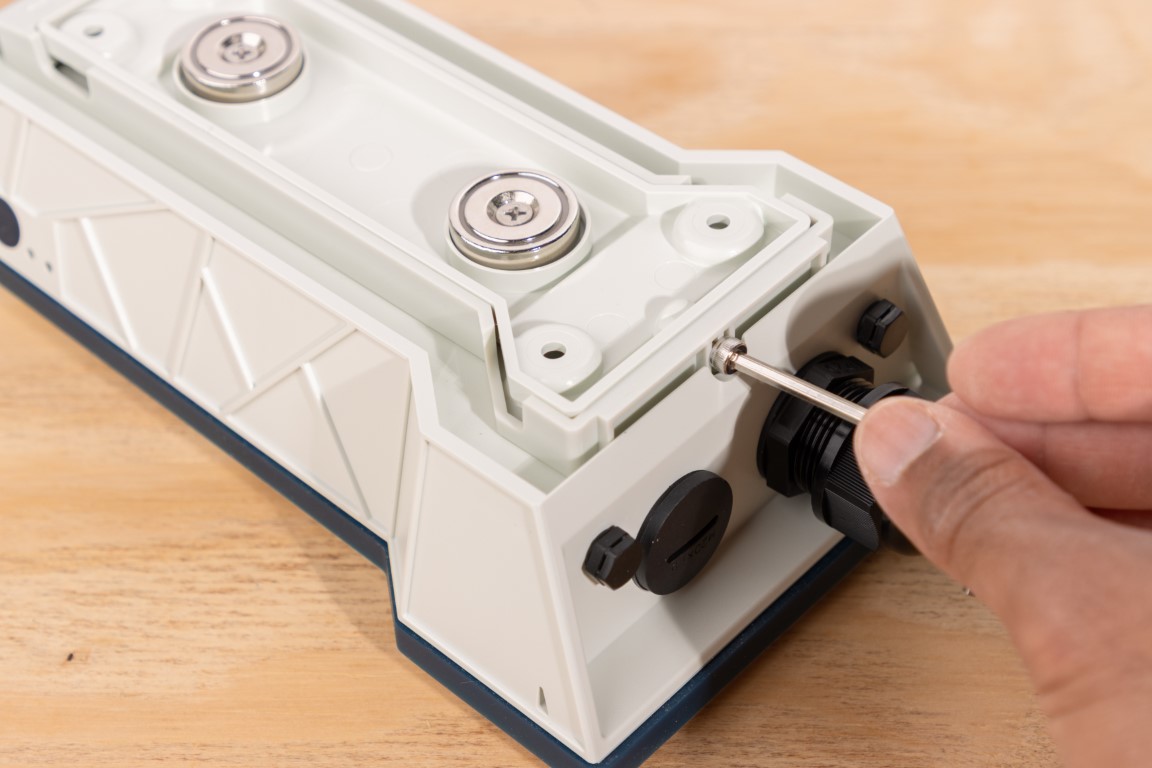
With the bolt out, the plate slides right off—ready for whatever mounting style you pick.

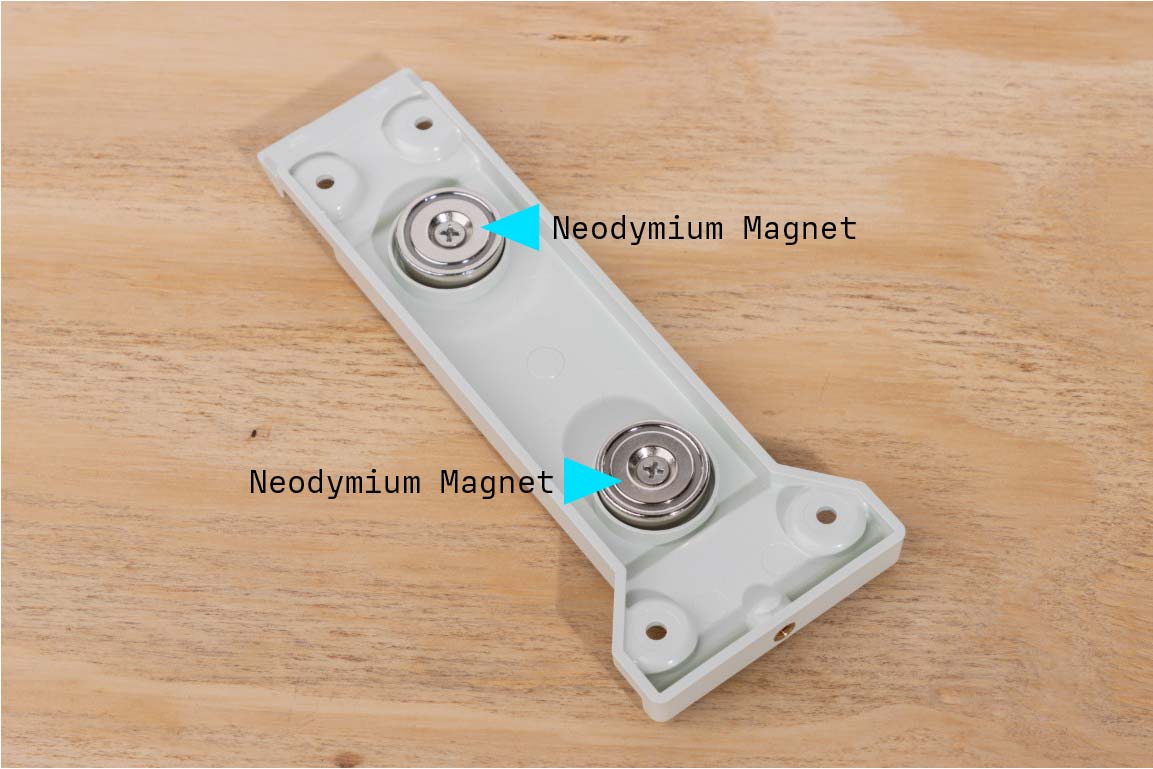
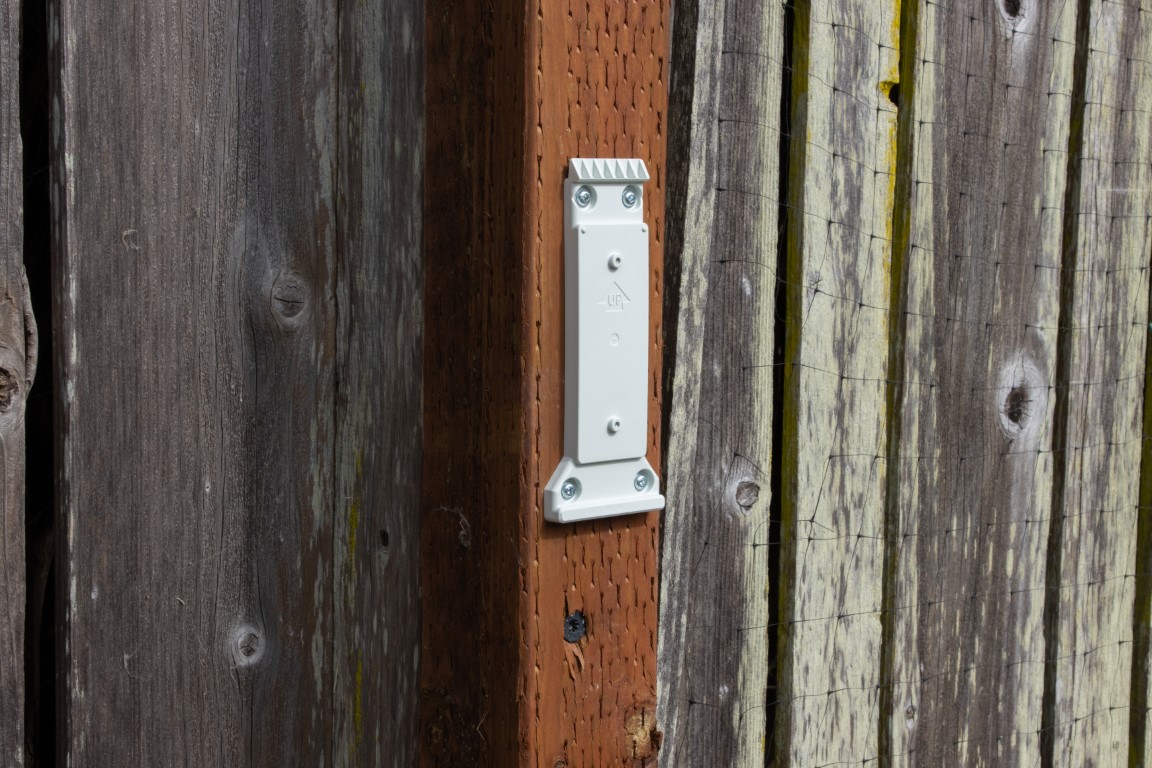
A Closer Look at the Mounting Plate
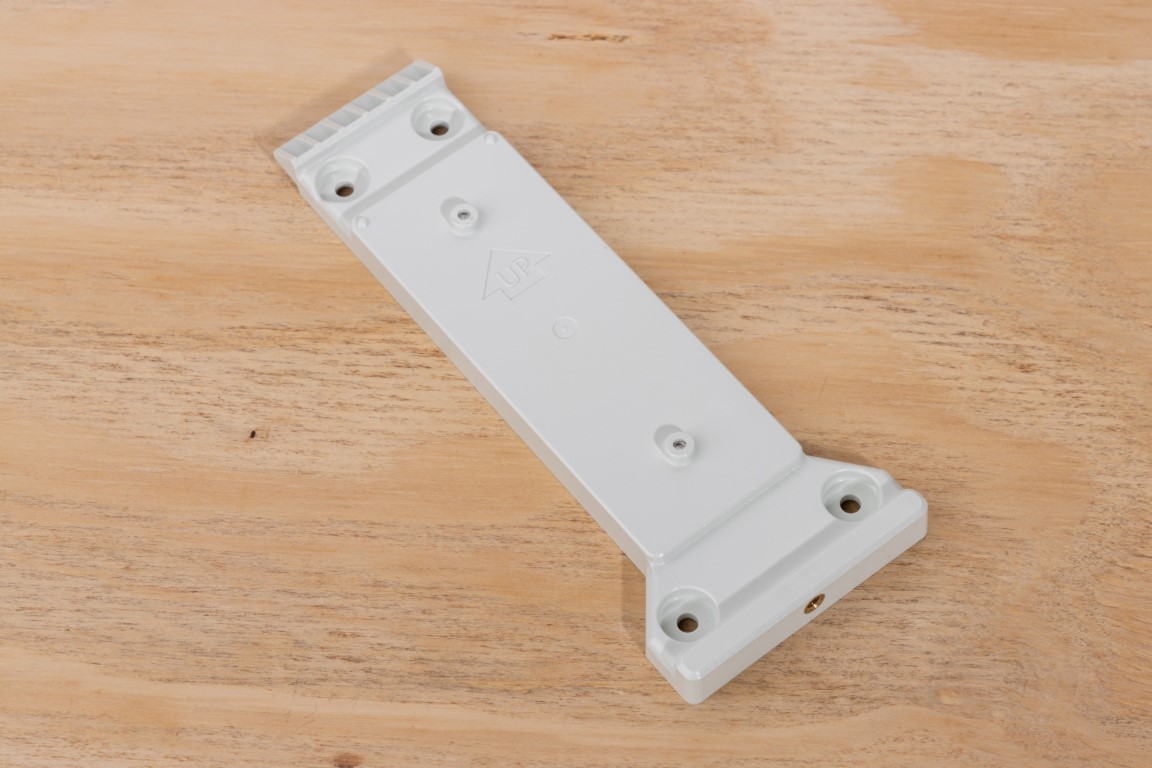
The plate has four corner screw holes for permanent installs.

- Fits common #8 wood screws or metric M4 machine screws.
- Countersunk so the enclosure sits flush.
Two hefty neodymium magnets are embedded for quick magnetic mounting—no need to remove them for other methods.
Screw Mount
For a rock-solid, permanent install (e.g., walls, fence posts):
- Position the plate and mark the four holes.
- Drill pilot holes if needed.
- Fasten with #8 screws (wood) or M4 bolts (metal).
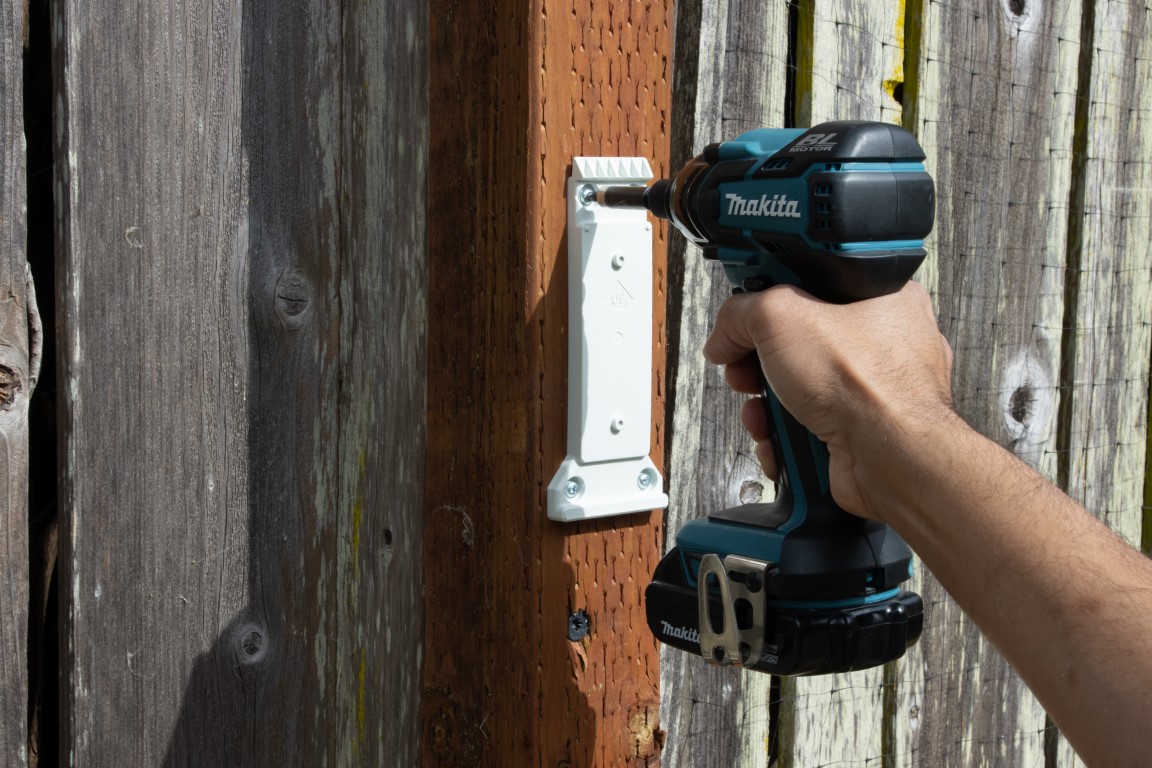
Make sure the plate sits flat—no warping allowed.
Slide the enclosure down onto the plate…
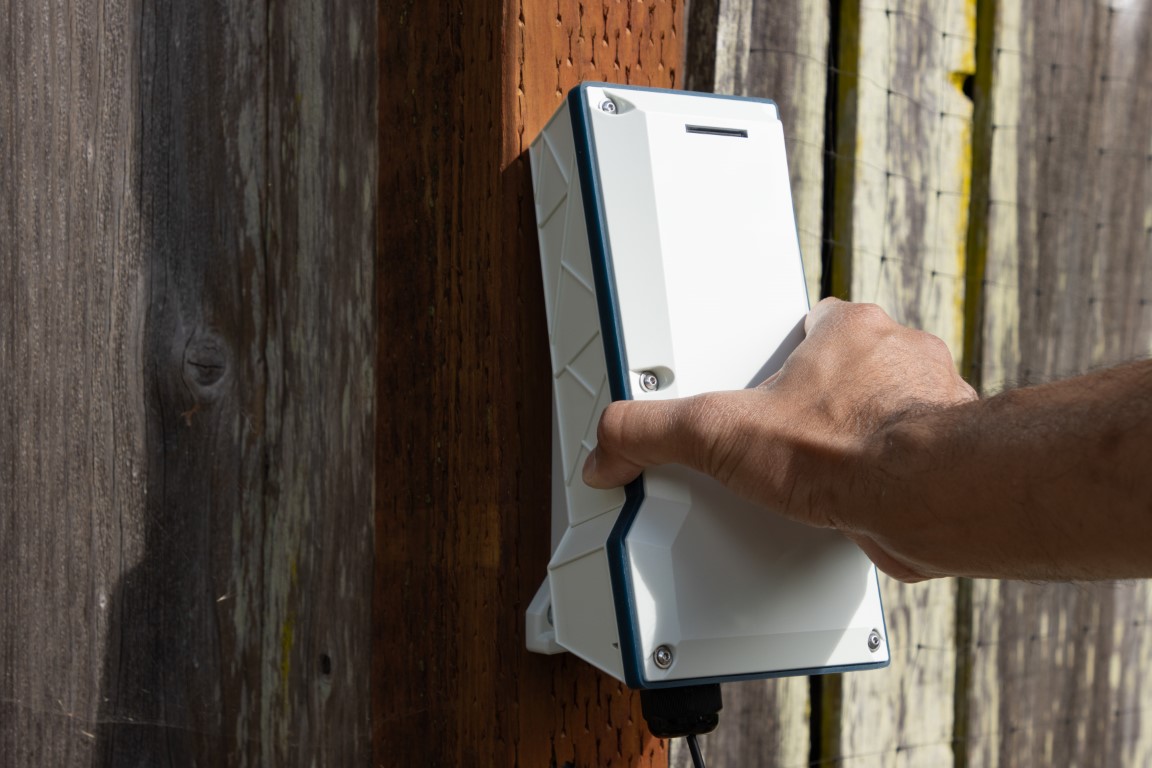
…then drop it into place.
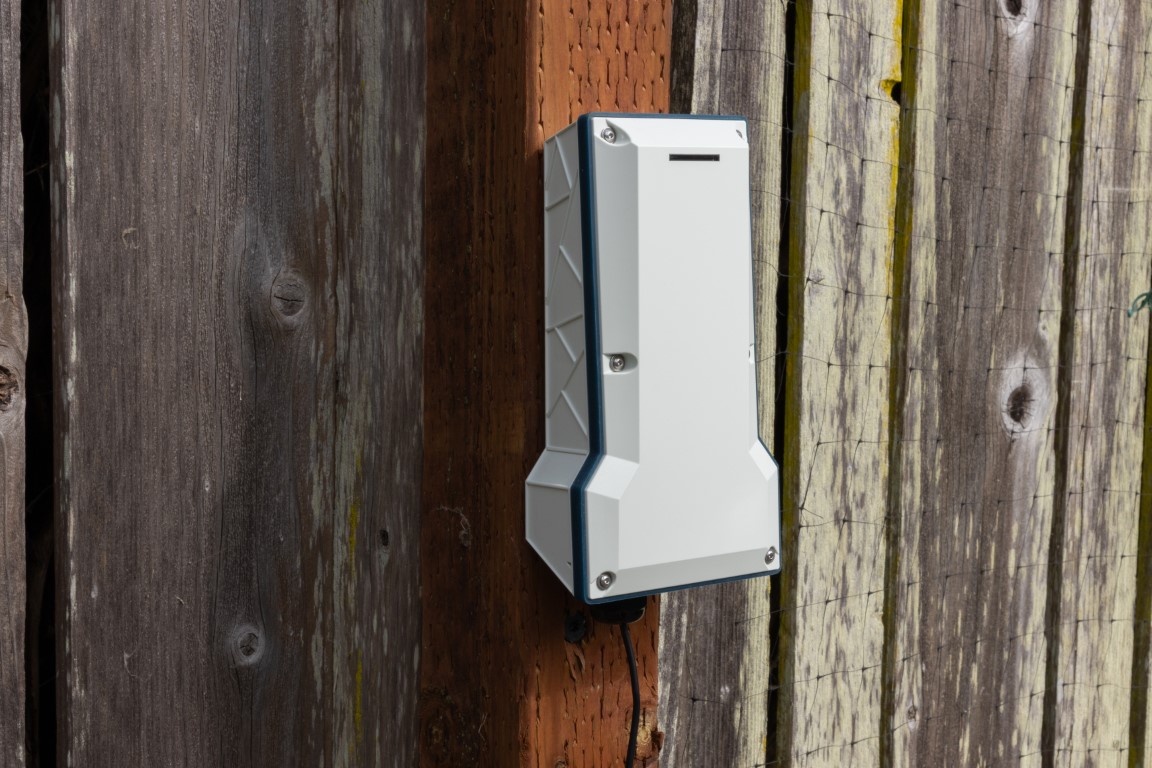
Lock it with the M4 bolt you removed earlier.
Pole Mount
Need to mount on a light pole, mast, or fence rail?
The plate includes two strap guides that accept up to 15 mm-wide bands.
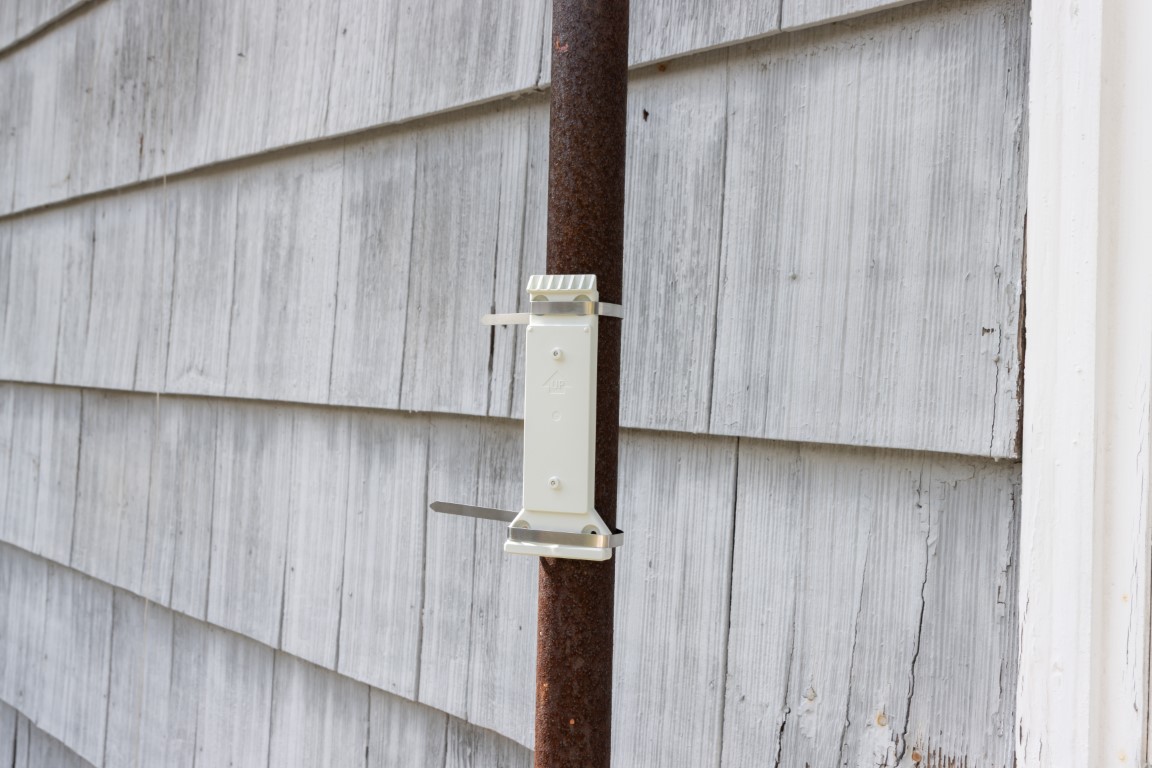
In this example we used 0.31" (≈8 mm) 304 stainless steel ties—perfect for outdoor corrosion resistance.
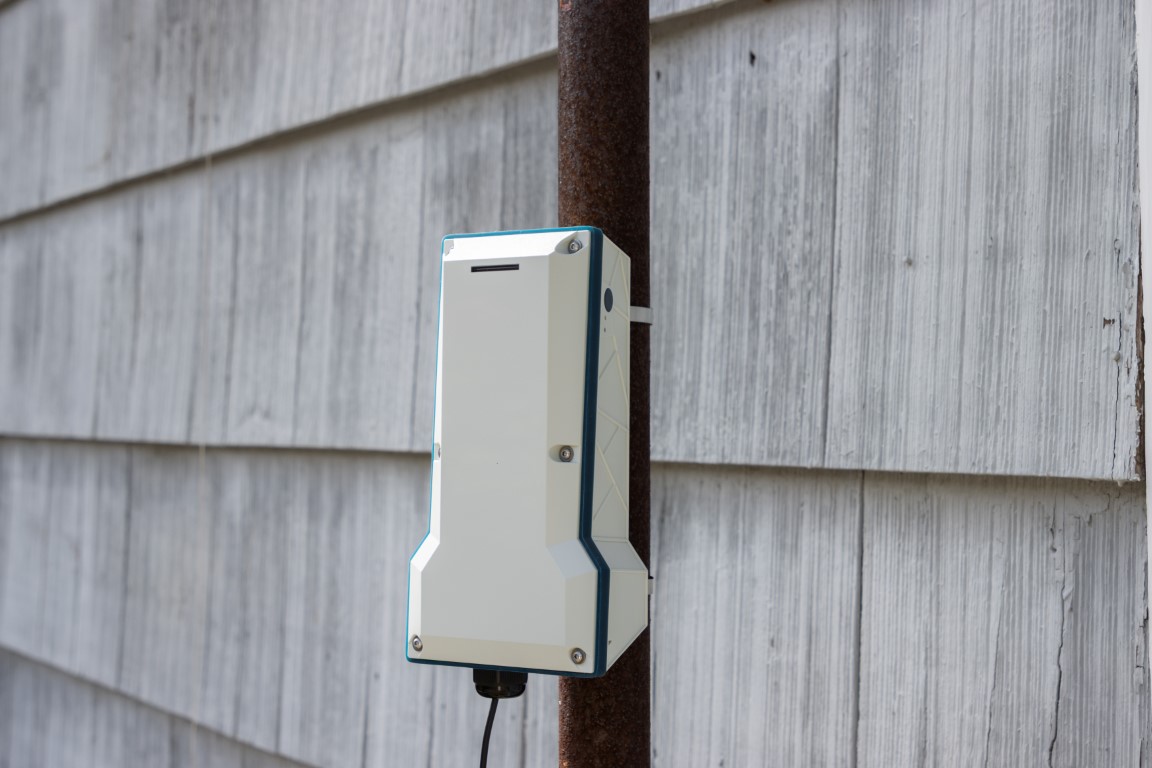
Strap the plate first, cinch it tight, then attach the enclosure and secure with the M4 bolt.
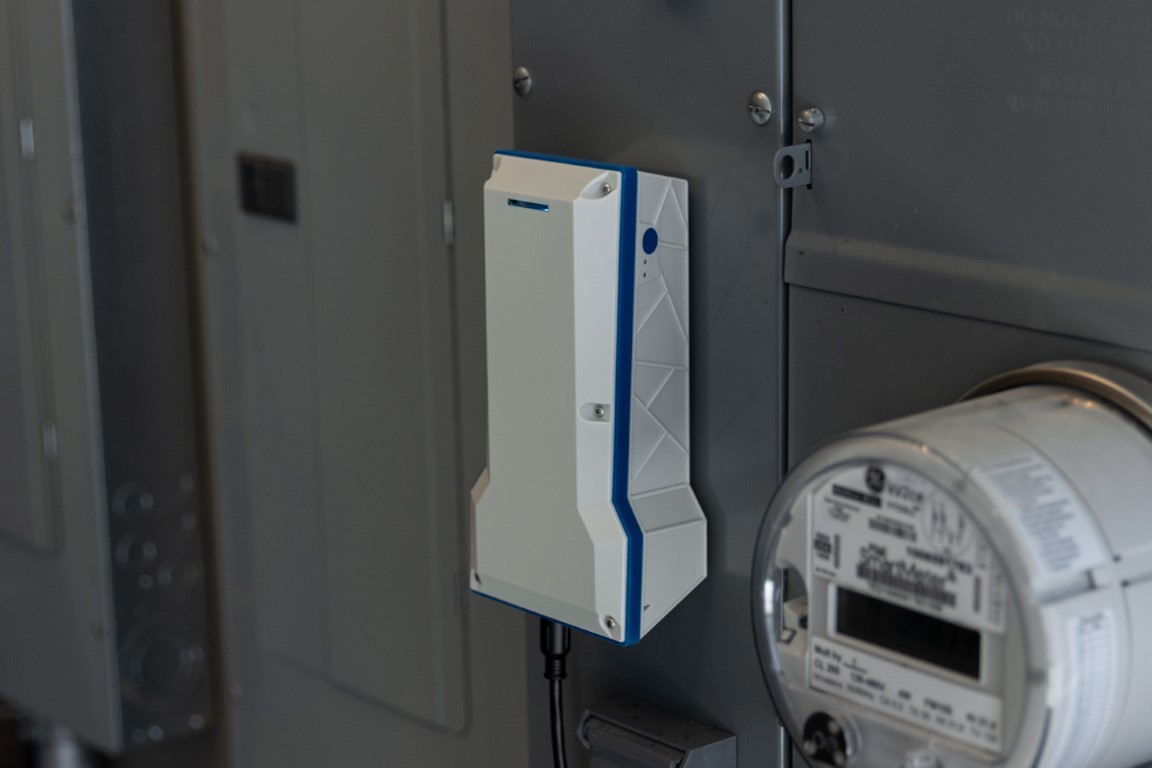
Magnet Mount
The quickest method—great for server racks, utility closets, or any ferrous surface.
Just place and press. The neodymium magnets 🧲 are strong—watch your fingers!

That’s it—instant, tool-free mounting. Remember to insert and secure it with the M4 bolt on the bottom.